771.1 Concrete Bridge Approach Slab Repair: Slab Stabilization (Jacking)
| Code: R314 |
Mudjacking is done to provide a smooth and safe transition, reduce impact from vehicles and fill voids under the concrete approach slabs. The work is scheduled in October through May with temperatures between 35 to 70 degrees.
Materials
- Topsoil free of rocks, roots and debris mixed with 9 bags of cement per cubic yard. Fine sand or agricultural lime mixed with 6 bags of cement per cubic yard.
- Sufficient supply of water to mix with soil, sand, or lime to form thin grout.
- Tapered wooden plugs.
Procedures
1. Bridge approach slabs should be monitored to determine the need for mudjacking. Settlement or voids along the slab edge are indicators of voids under the slabs.
2. Use an air drill to open existing holes or bore new ones.
3. Dampen pavement prior to pumping to make cleanup easier.
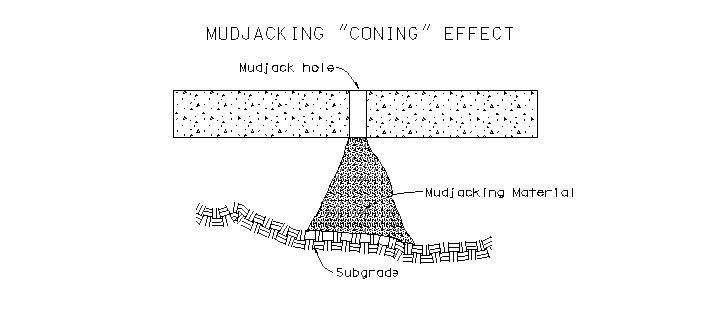
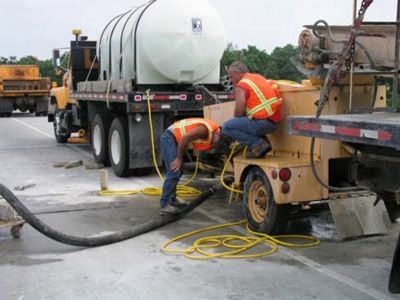
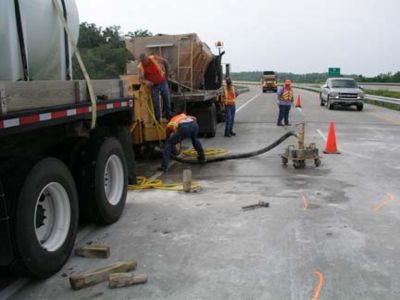
4. A thin mix of grout needs to be pumped in a systematic manner to avoid cracking the approach slab (See figure for details). If grout mix is too thick it will cause a coning effect and not fill the voided areas.
5. Mudjack holes may need to be plugged to continue filling voids or to raise the slab to correct grade.
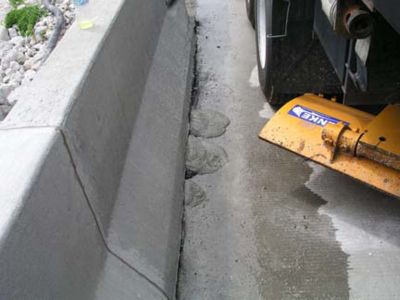
6. If a blowout develops during the pumping operation, try plugging it with the dry mudjack material. If this fails the operation may have to be halted to allow the grout under the slab to set, then return to complete the operation. Watch for blowouts along the shoulder lines, fill slopes, and at abutments.
7. When pumping operation is complete holes should be capped with mortar composed of 1 part cement and 3 parts sand to prevent moisture from entering the hole.
Safety
Use caution during pumping operations to avoid injury to employees and damage to private property.
Instructions
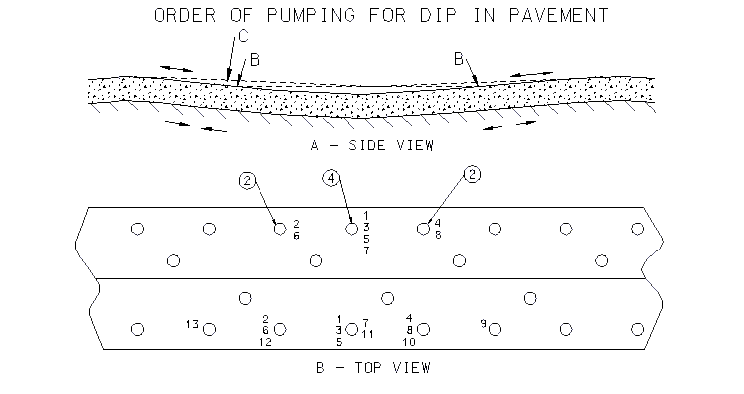
Holes may be present or will need to be drilled in the concrete pavement or bridge approach where the pavement has settled. The holes will be used to pump a slurry of material under the pavement to fill the voids and lift the slab back to its proper alignment.
The holes are normally 6 ft. apart and 3 ft. from the centerline and edges of the pavement. Trying to reduce the number of pumping holes, or increasing the distance between the holes could cause cracking of the pavement when the material is pumped under the slab.
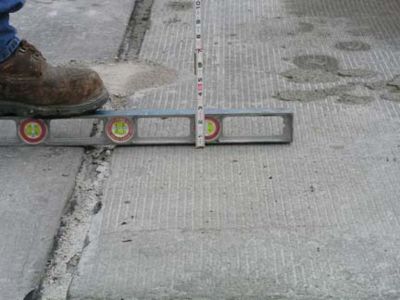
The holes will need to be located and drilled after inspecting the settled pavement. The pavement should not be raised more than 1/4 in. at any one time. It should be brought up slowly using several holes to pump the material that would raise the slab.
The diagram above shows the proper layout, location of the holes, and the pumping sequence.
The pumping and lifting sequence starts with pumping material into Hole 1 until some slight movement is noted in the slab. If pumping of the material continues without moving to another hole location it will cause cracking of the pavement.
The pumping then moves to the other hole locations in the sequence noted in the diagram. The goal is to raise the slab evenly to avoid cracking and to fill the voids underneath.
If the mudjacking material is too stiff it will build a cone or pyramid under the mudjack hole, and will prevent the material from filling the voids under the slab.
 |
|
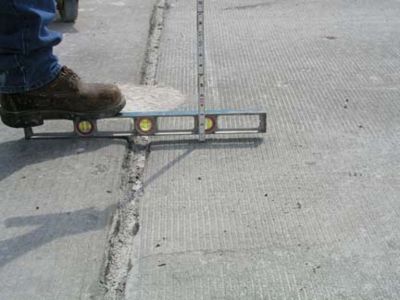
| Bridge approach slabs should be monitored to determine the need for mudjacking. Settlement or voids along the slab edge are indicators of voids under the slabs. | |
 |
|
| A thin mix of grout needs to be pumped in a systematic manner to avoid cracking the approach slab. If grout mix is too thick it will cause a coning effect and not fill the voided areas. | |
 |
|
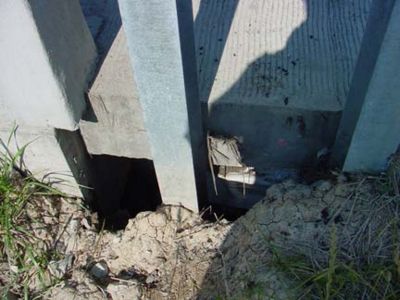
| Watch for blowouts along the shoulder lines, fill slopes and at abutments. | The approach should be brought up slowly to the proper alignment using several holes to pump the material. |
